This guide will walk you through the process of adding and removing team members from your Shopflow account.
A team member can be a staff member, a contractor, or a vendor. They are people who will be assigned work or need to access your Shopflow account.
Adding a Team Member
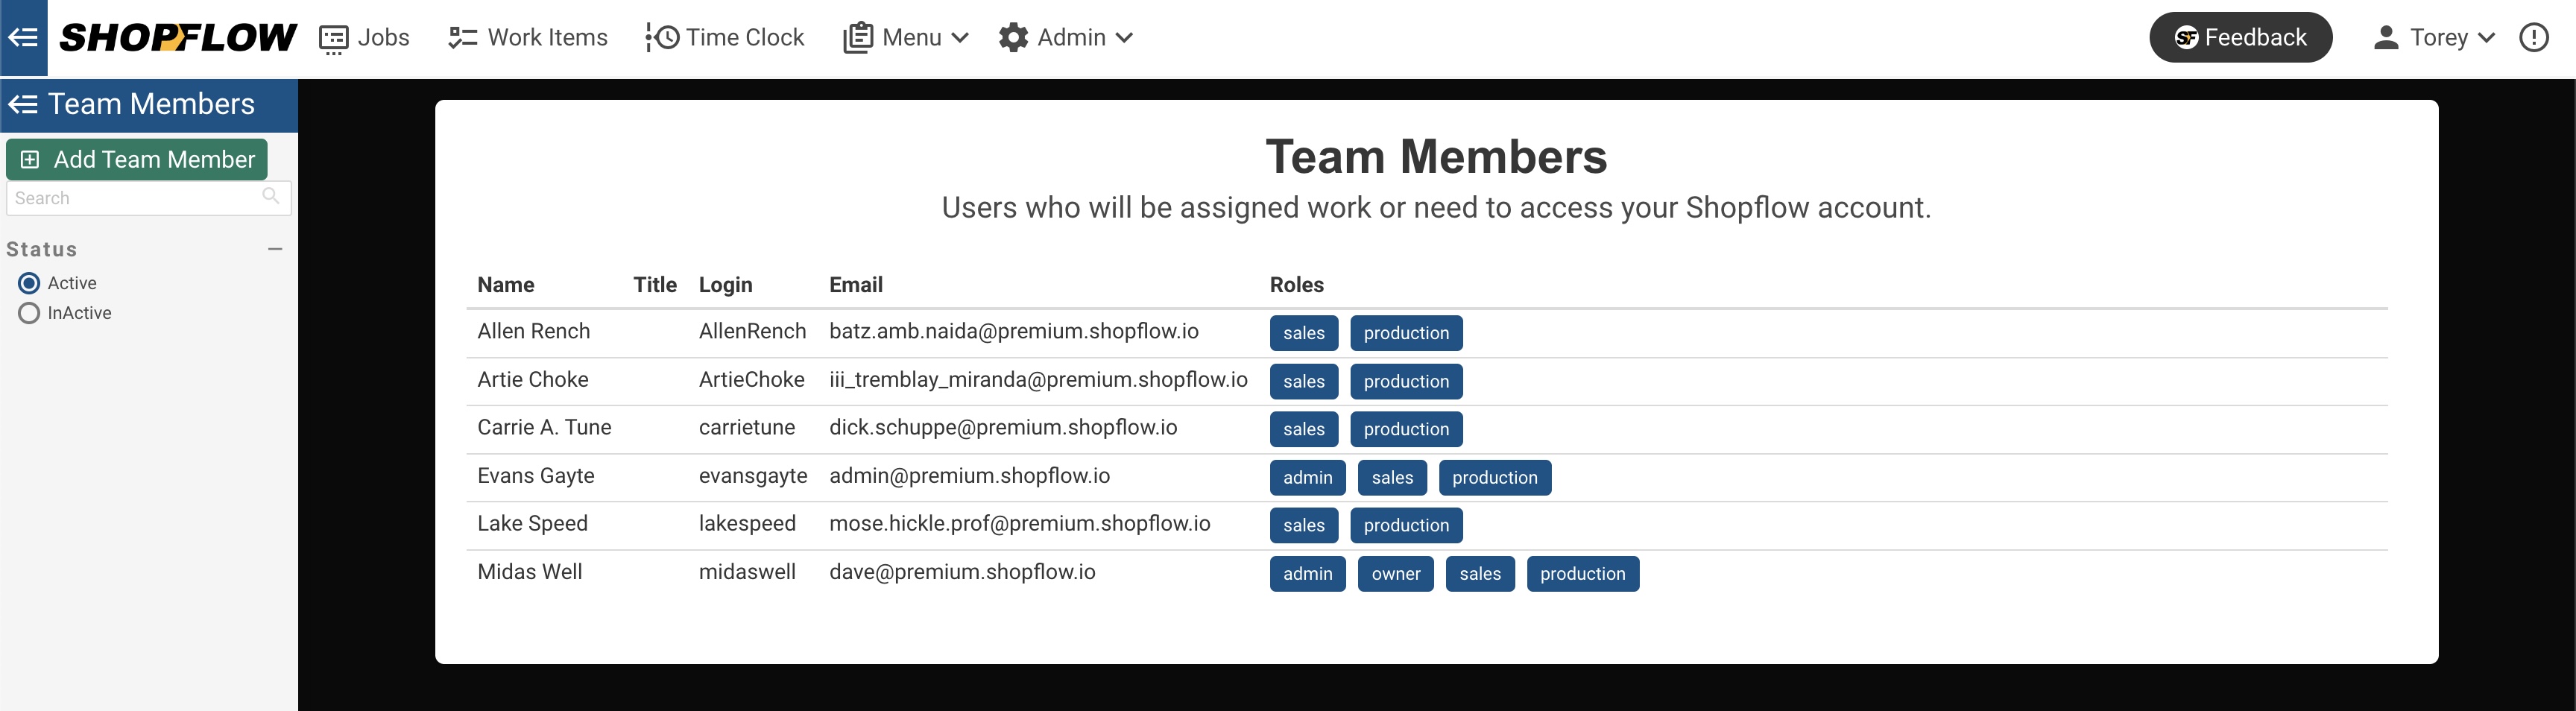
Team members can be added and removed from the Team Members page from the Admin menu.
To add a team member, click the Add Team Member button.
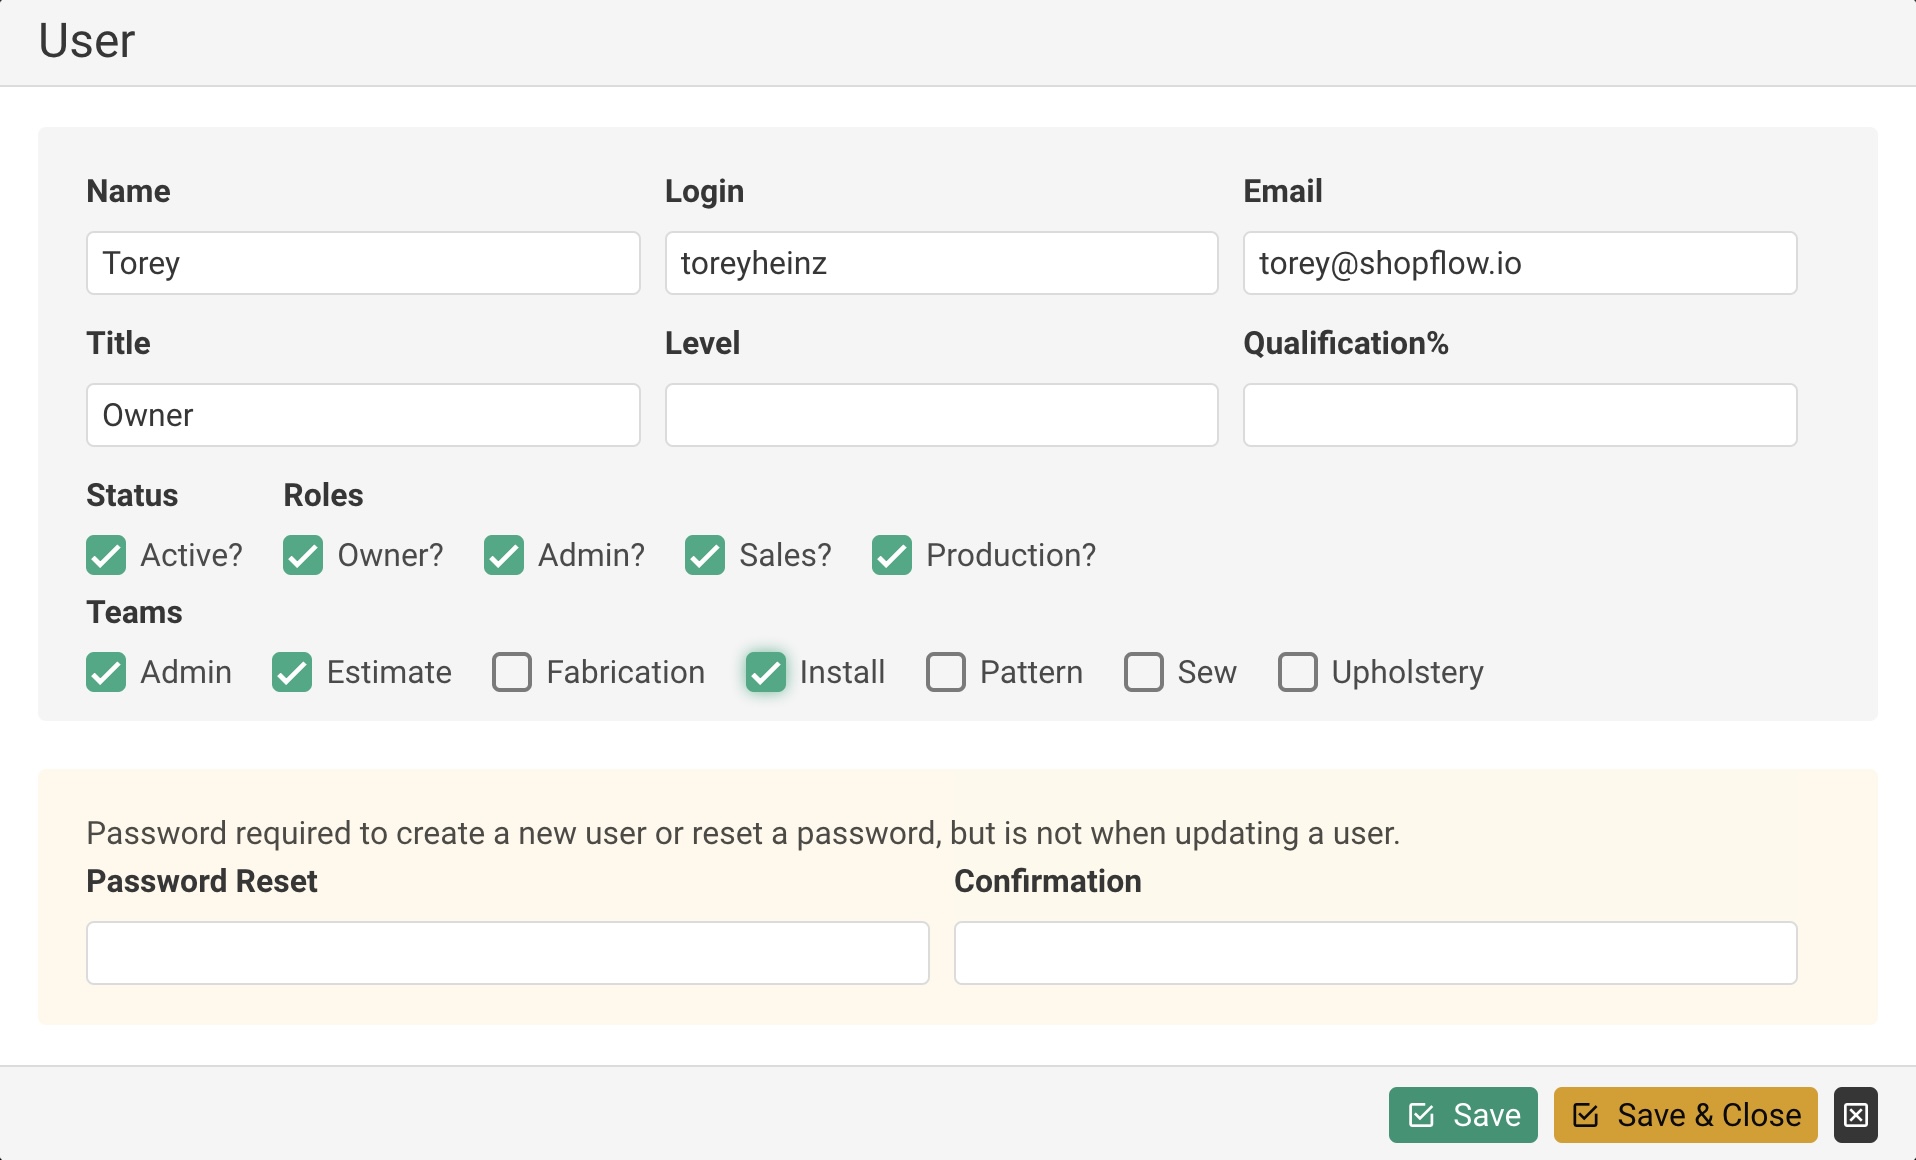
You will need to enter the team member's name, login(username), and password. They can change their password later.
Setting Roles
You can also set the team member's roles. Roles allow you to control what a team member can do in Shopflow.
- the Owner role indicates that the team member is an owner of the Shopflow account.
- the Sales role indicates that the team member can view customer details and comments.
- the Production role indicates that the team member can view work orders and production details.
- the Admin role combined with the Sales or Production role indicates that the team member can also edit the sales or production details.
Removing a Team Member
Because we don't want to lose track of any work that a team member has done, we don't allow you to delete a team member. Instead, you can mark a team member as inactive. This will prevent them from logging in and remove them from the list of active team members, but will still allow you to see any work that they have done.
To mark a team member as inactive, click their name on the Team Members page. Then, uncheck the Active checkbox and click the Save button.
